Prerequisites
- A registered domain name
- Access to your domain’s DNS settings
Step 1: Sign up for Google Workspace (formerly G Suite)
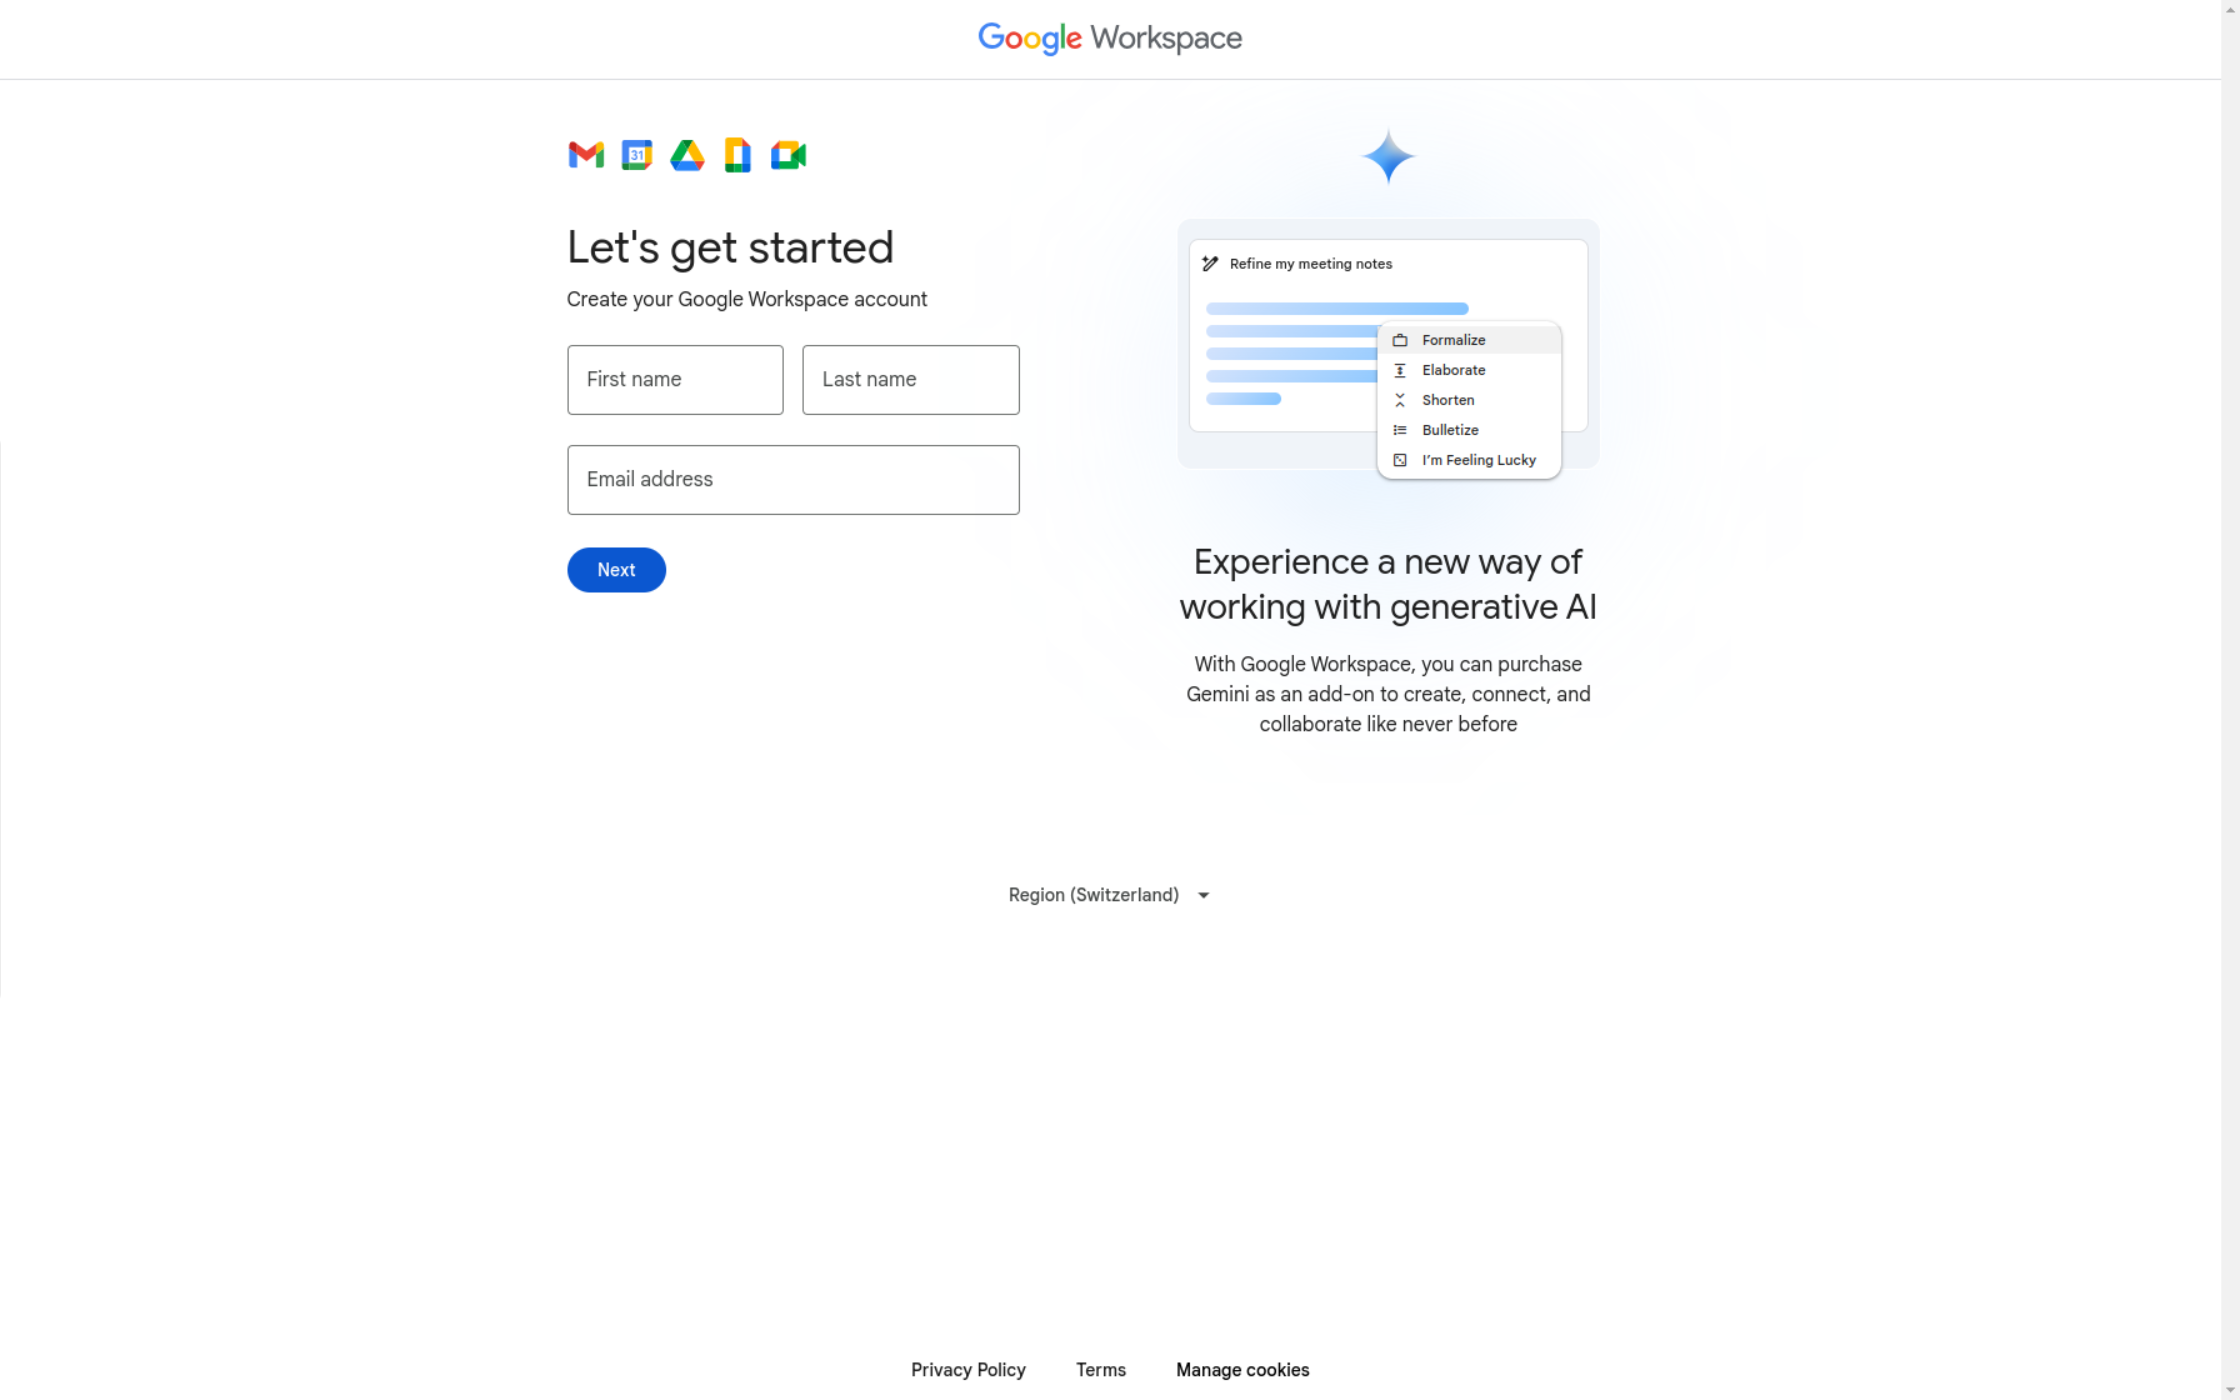
- Go to the Google Workspace website.
- Click on “Get Started” or “Try it free.”
- Fill in your business information and domain name.
- Create your Google Workspace account.

Step 2: Verify Domain Ownership
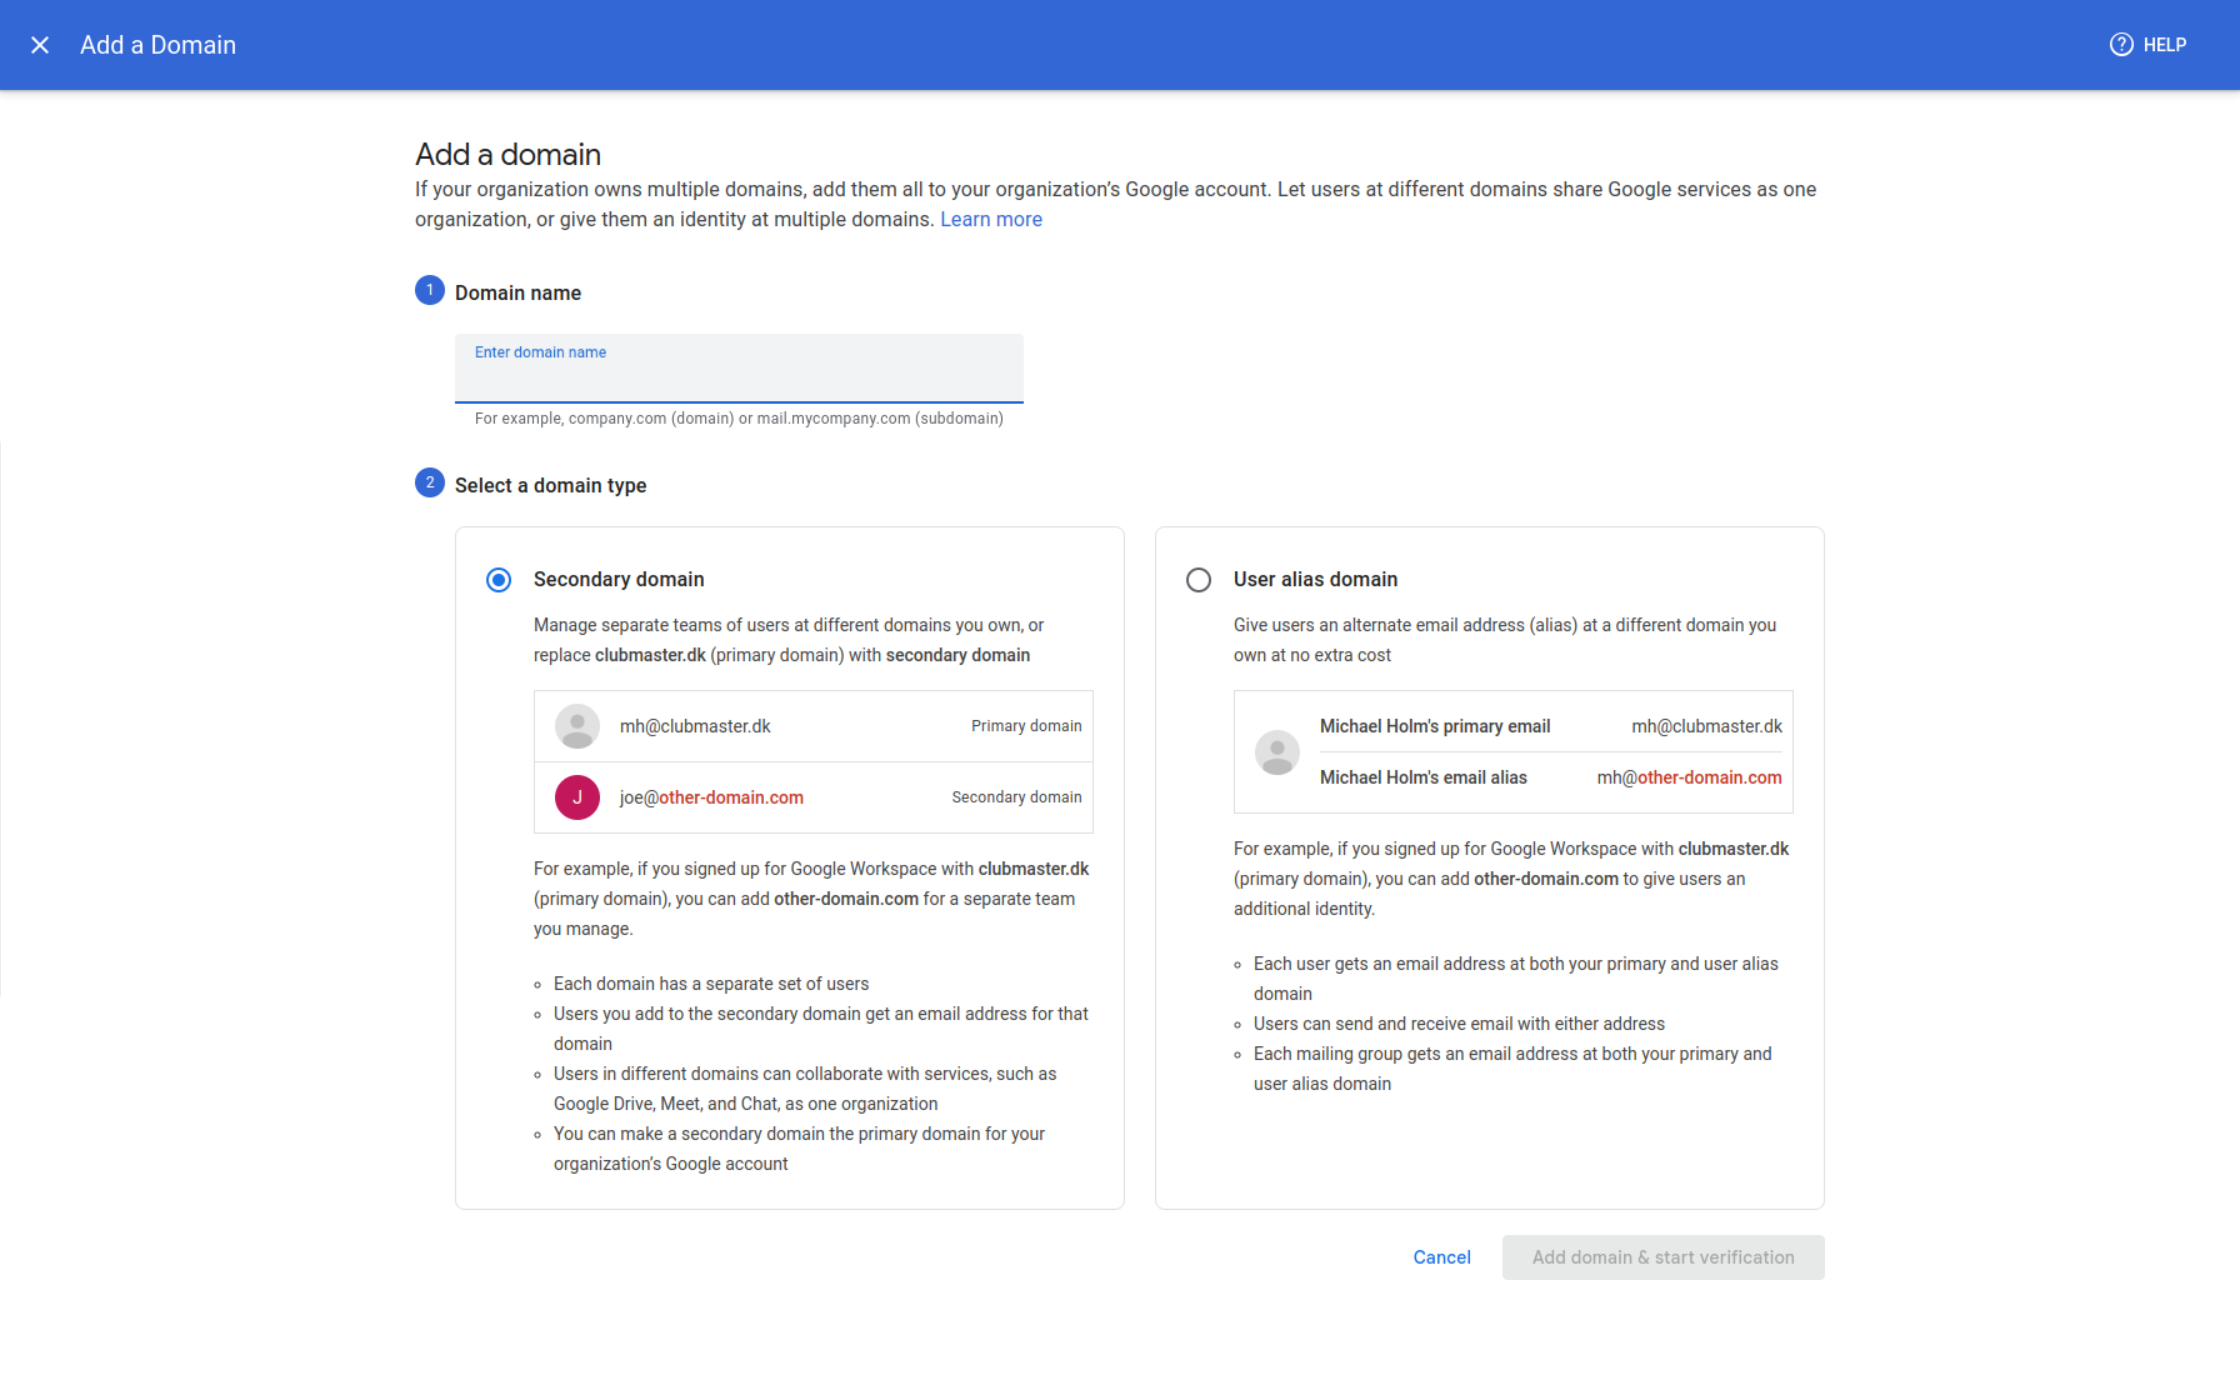
- In your Google Workspace admin console, go to “Domains.”
- Click on “Add/Remove Domains.”
- Follow the steps to verify your domain ownership. This usually involves adding a TXT record to your domain’s DNS settings.
Step 3: Set Up MX Records
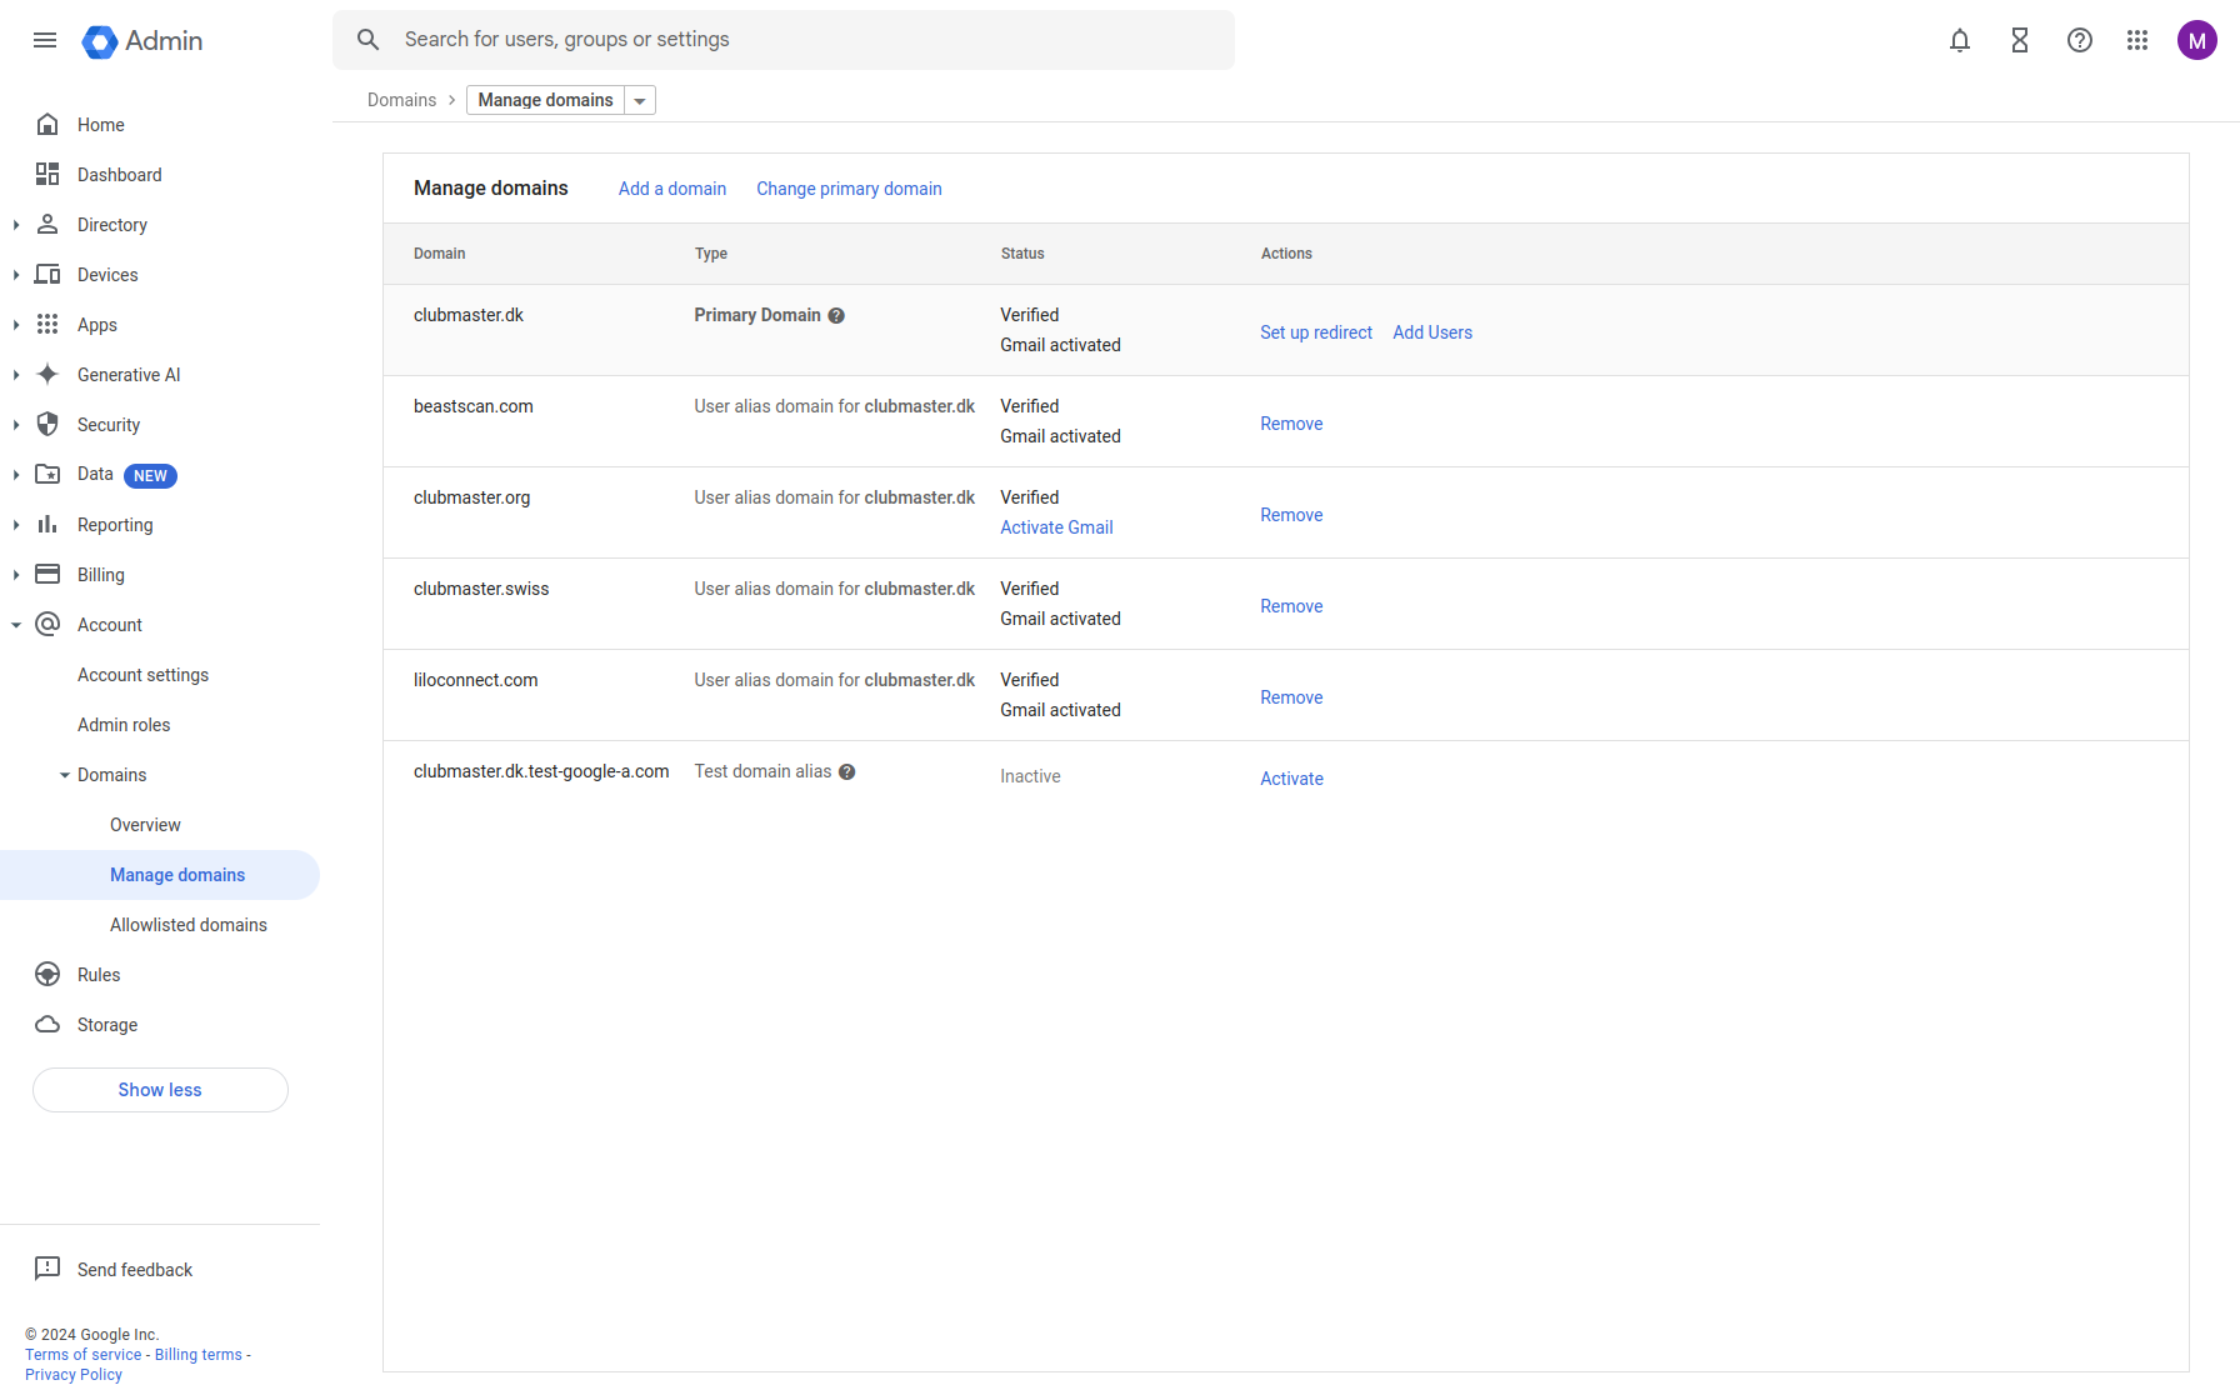
- In your Google Workspace admin console, go to “Domains” > “Manage Domains.”
- Find your domain and click on “Set up email.”
- Google will provide you with MX records. Copy these.
- Log in to your domain registrar’s website.
- Locate the DNS management section.
- Add the MX records provided by Google. Typically, there are 5 MX records to add.
Step 4: Create User Accounts
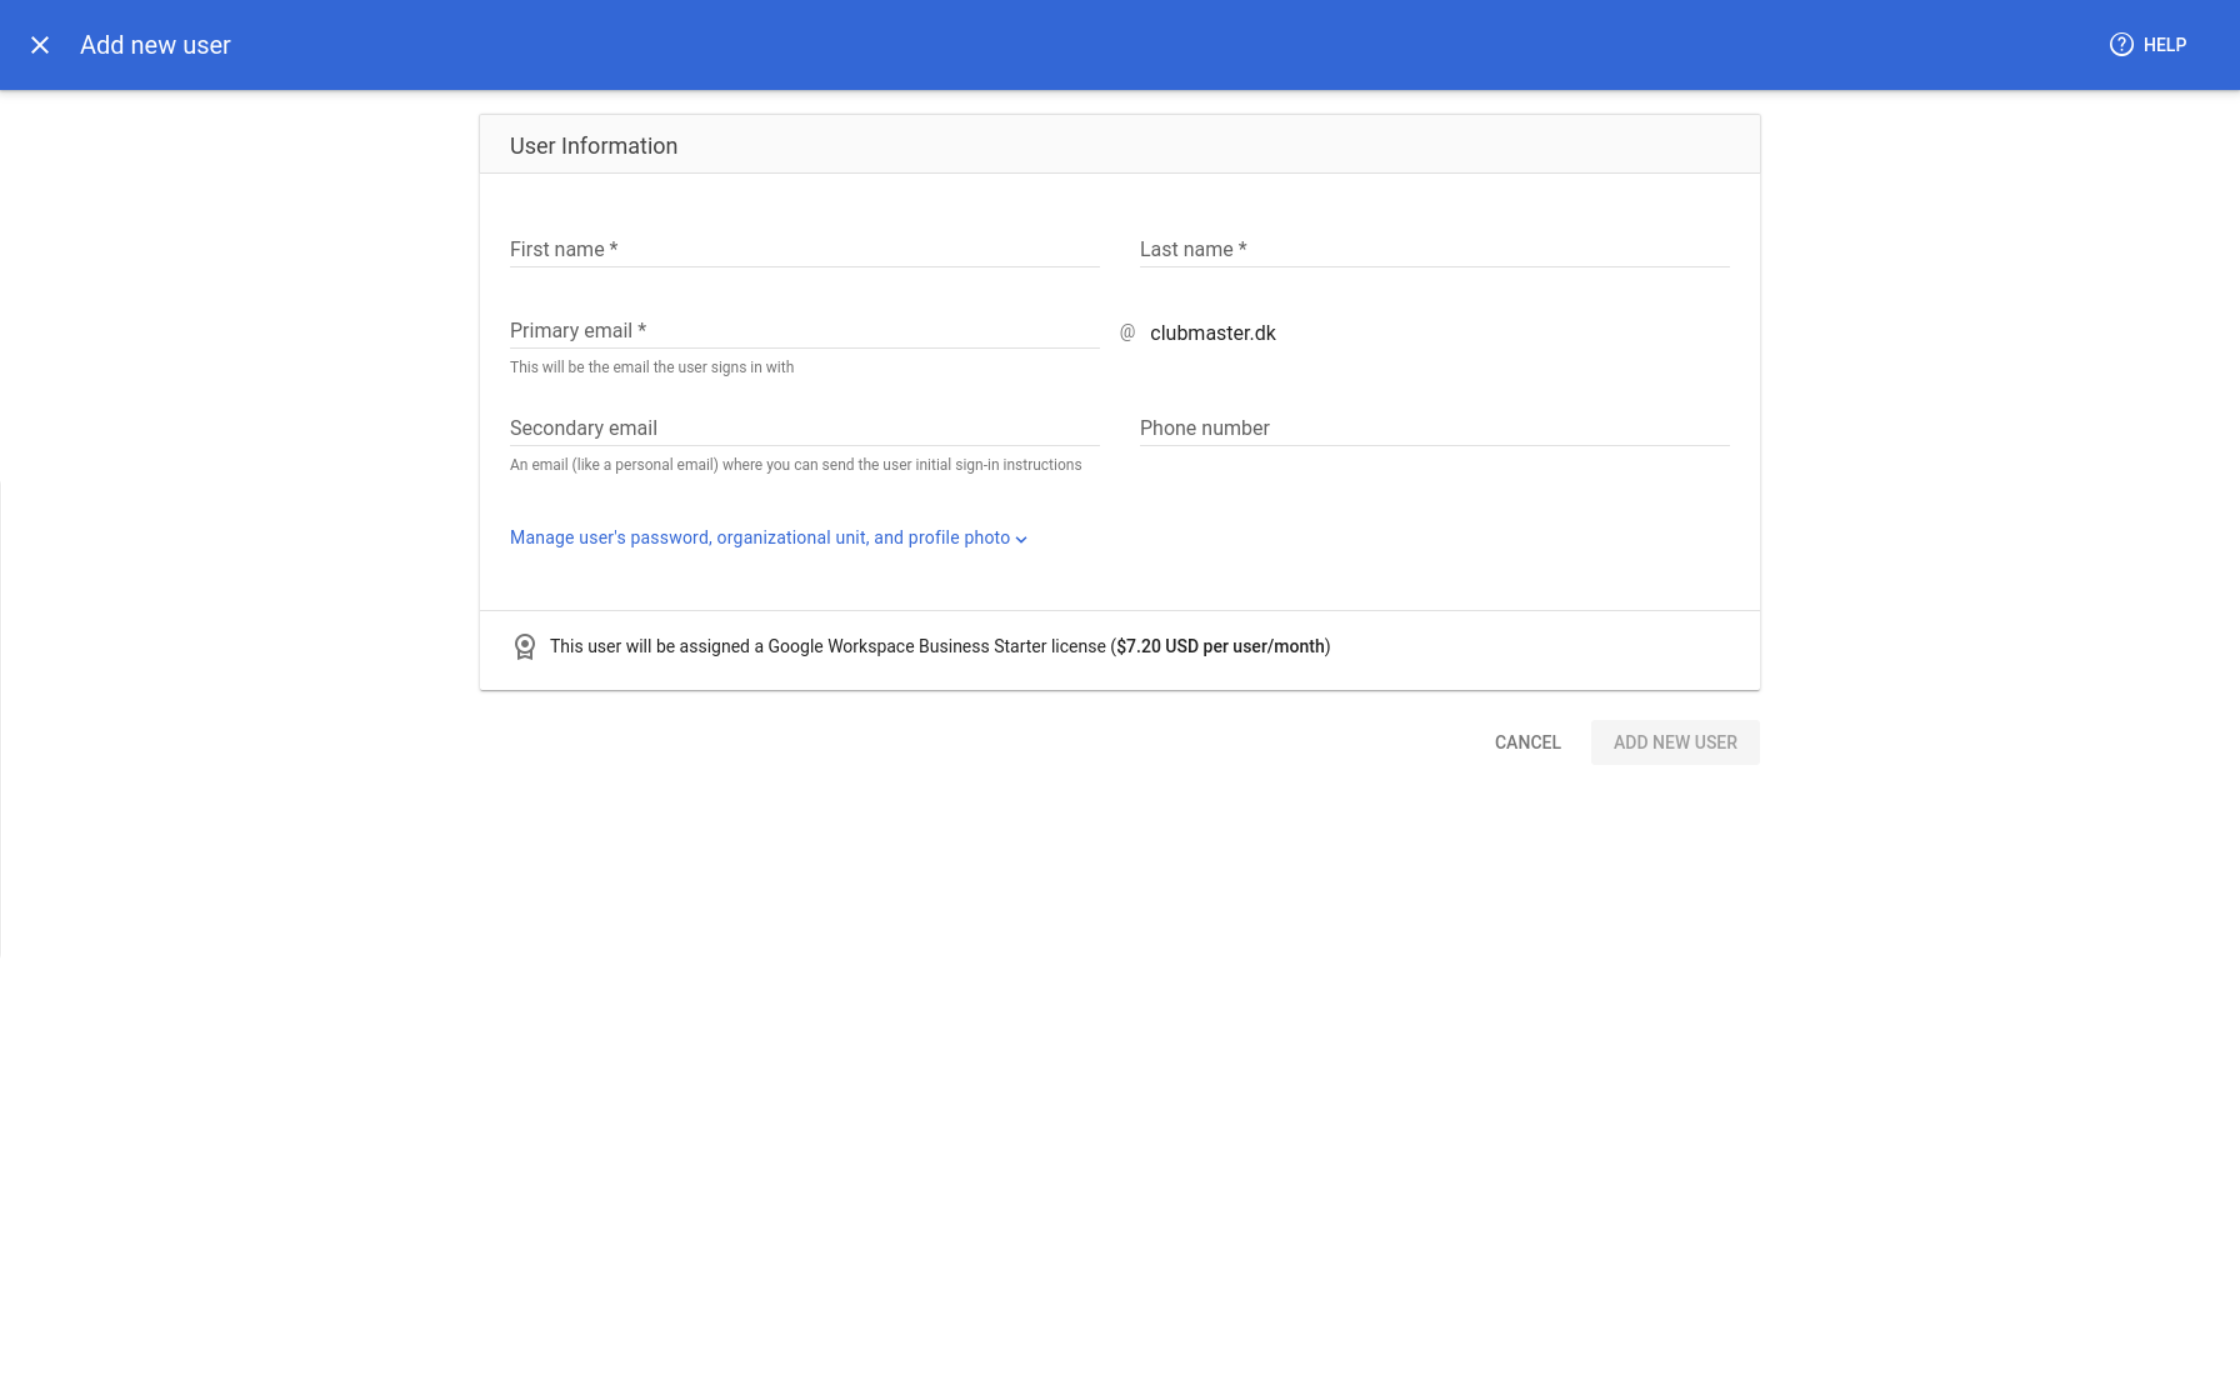
- In your Google Workspace admin console, go to “Users.”
- Click on “Add New User.”
- Fill in the user’s information and create their email address (e.g., user@yourdomain.com).
- Repeat for all users you want to add.
Step 5: Configure Email Clients (Optional)
- Users can access their email directly through Gmail’s web interface.
- For desktop or mobile email clients, use the following settings:
- Incoming Server (IMAP): imap.gmail.com (Port 993, SSL)
- Outgoing Server (SMTP): smtp.gmail.com (Port 587, TLS)
- Username: full email address
- Password: Google Workspace account password
Step 6: Set Up Email Routing (Optional)
- In your Google Workspace admin console, go to “Apps” > “Google Workspace” > “Gmail.”
- Click on “Routing.”
- Here you can set up email routing rules, such as creating aliases or setting up catch-all addresses.
Conclusion
You’ve now successfully set up Google Gmail for your custom domain. All emails sent to your domain will now be handled by Gmail, giving you access to Gmail’s powerful features and large storage capacity.
Remember to train your users on how to access their new email accounts and consider setting up two-factor authentication for added security.

